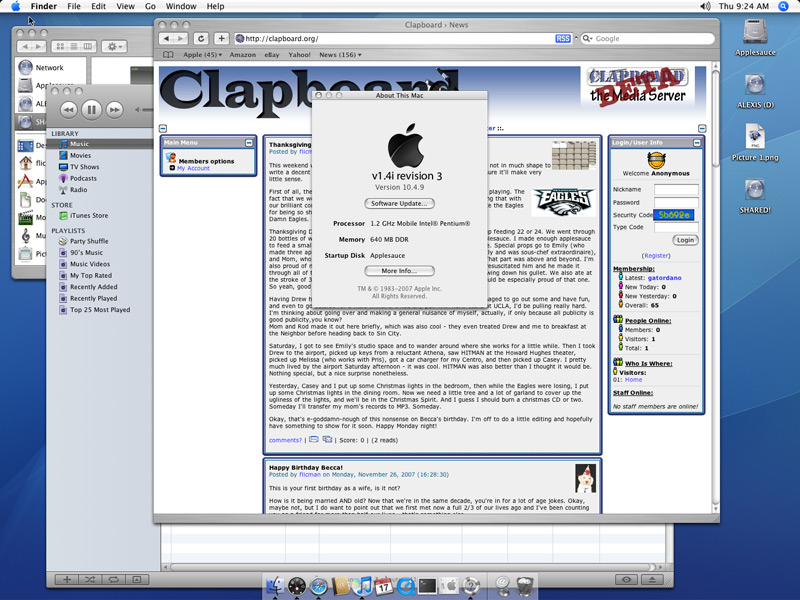
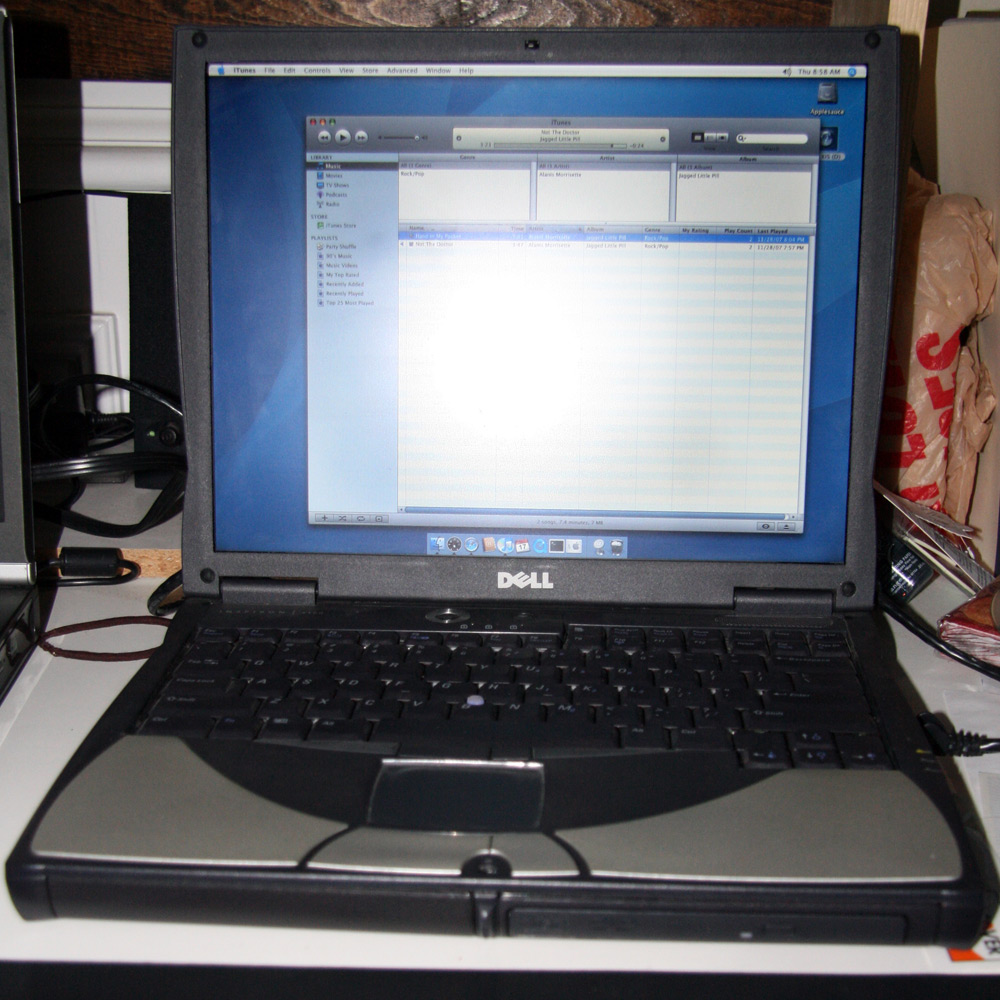
So while I”m working this morning, I’m going to try to make an old Dell Inspiron laptop I have lying around into a hackintosh. It should be a fun process if it works. I’ve read that getting OSX 10.4.1 worked on similar machines, but I have a different build (Leopard GM 9a581), so it may not work at all.
This “article” has taken me a long time to get together, mostly because I’ve dedicated an hour or two to it here and there and also because I had to take a few days off to cook, but now I”m back and it’s finished. I can tell you that it’s completely possible to get OSX installed on an Inspiron 4150, but I have no idea if it’d work on any other computer. I didn’t get Leopard on there, but I did get Tiger, and after seeing how that runs, my ardor for the latest from Cupertino has cooled significantly.
After the jump you”ll find some rambling nonsense that will eventually culminate in a picture or two. Only read the rest if you”re really bored or more than vaguely interested in getting your own Hackintosh running – it”s totally crap otherwise.
The Process
So if I just let the thing boot without doing anything, it gives me an error. Second time: hit options and choose verbose mode (-v). The process begins, but then hangs after [u]the boot loader has started and Ive gotten a message about copyright. CTRL-ALT-DEL doesnt even get me out of the dead loop. Third time: I hit enter to boot…
I see the Mac logo!
There it sits, though, probably frozen in the same place it froze in -v mode. Less exciting than Id originally thought. Hmm. What to do?
A few days later:
That excitement was a little premature, huh?
It turns out that there’s no real precedent for getting Leopard working on hardware that’s as old as the hardware I’m using. For a couple of days, Id go back and fiddle, search the InsanelyMac forums and generally read anything I thought might be similar to what I was looking for, but there was never really anything concrete to tell me that anyone was successful getting the latest version of the Mac OS working on my system. So I did what any good nerd would do and found a version of 10.4.9 (Tiger) and decided to check on how to make THAT work while it was downloading.
It’d been done before, but no one really posted HOW they did it, so I figured there was room for me to experiment here (and experiment I did). I took bad notes while I was doing it, but the broad strokes are that I installed the main disk image (Uphucks v1.3rc4 of 10.4.9) about six different times. Things I learned that I remember now to tell you:
- Use MBR to install this version. You get there by going into Disk Utilities and choosing the Partition options.
- Install all the patches. I dont know if I needed them all, but I tried enabling them one by one to solve problems, and after three, I thought “fuck it, Ill enable them all” and that worked.
- [b]Don’t[/b] enable all video drivers. That DOESN’T work. The first time I installed, I just checked everything without reading and, well, there were conflicts.
- You need a special driver for the Networking, but once it’s enabled, you’re golden.
Im sure there’s more, but thats what I got right now. Pics here (click on them to make them big-style):


